Today's warm-up was a little different. We started by looking at a problem with a fully worked solution. The solution contained errors (it was a level 2 exemplar) and students had to identify the errors then present a complete (level 4) solution.
I gave out a page with two problems along with the level 2 solutions.
The first problem served the purpose of practicing some of the algebra skills that we worked on earlier in the week, that need more work.
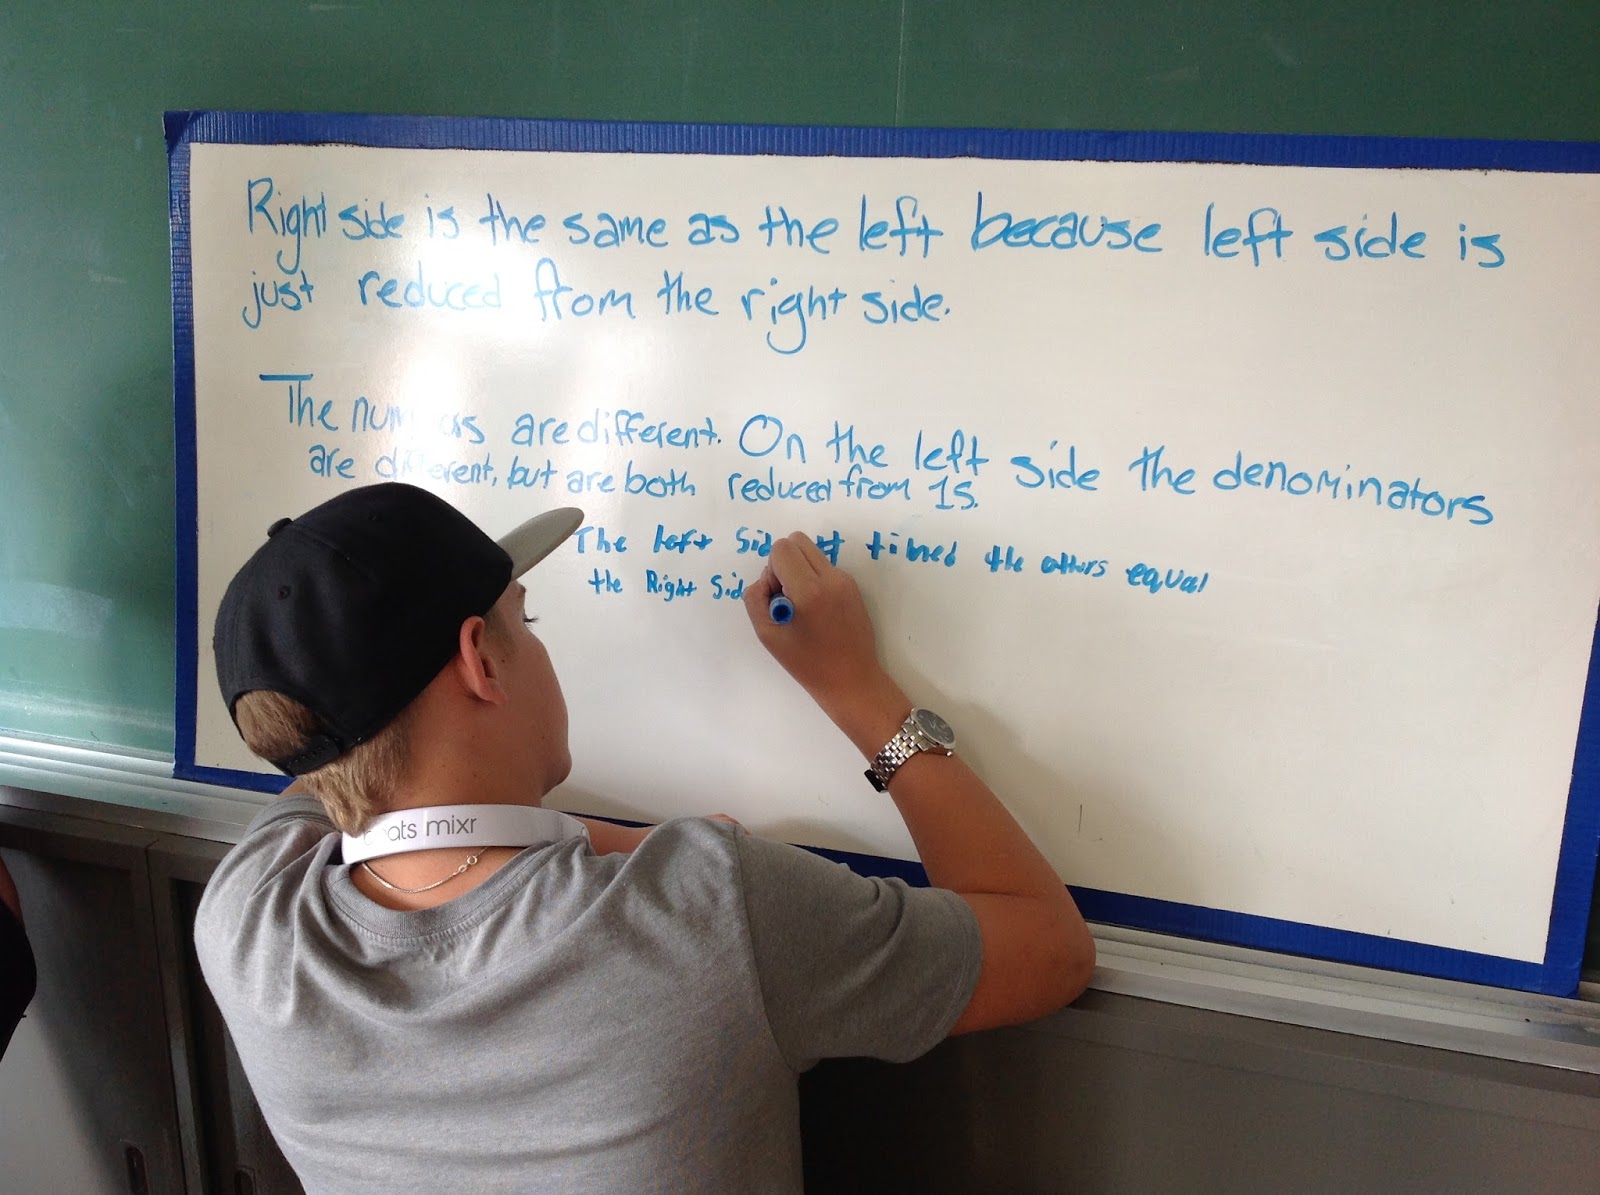
I had students work in groups of three up at the board to figure out what happened in the solution. This was difficult for some students. They just wanted to solve the problem their way, which was different from the solution. Once groups figured out the approach used in the problem they were able to determine where the errors were and correct them. There were some good discussions about how to fix those errors. I think students were able to solidify their understanding of the distributive property and collecting like terms.
As a result of this activity my class has now constructed an exemplar for solving these open response type questions. I'm hopeful that next time we solve a problem like this, we will be able to co-construct the success criteria for solving problems like this.
All groups completed the first problem, many were working on the second problem and one group finished both.
We then moved onto this activity (thanks @davidpetro314) to investigate parallel lines, transversals and angle theorems. This was review for most students and most of them seemed to remember doing it in grade 8. Once they were finished with the activity I had them create their own note for their notebooks to remind them of the theorems. Some of the notes were excellent, others were not, but who am I to say what type of note would be useful for all students. I then gave them some questions to practice.
Showing posts with label area. Show all posts
Thursday, November 23, 2017
Thursday, September 28, 2017
MPM1D1 - Day 18 Optimizing Area & Perimeter
For a warm-up today I had students, individually, do the following:
This one seemed to be a little more challenging for some. I did see lots of squares and a couple of circles. Students had a good sense that these fit the description but they had a hard time explaining why they thought it worked.
As we were finishing up, one of the students said "Next you're going to get us to draw a figure that has the same area and perimeter. Aren't you?". I actually hadn't considered that as an option, but since he brought it up, I thought it would be a great idea. Most students thought it was easy and they drew a square. I asked a few to show some dimensions so we could compare the perimeter and the area. Many of them just wrote down a length and a width at random. We discussed, as a class, the shapes and dimensions they chose. Their answers were mostly squares that were 1x1, 2x2, 3x3 and 4x4. I drew a 1x1 and asked about the area and perimeter. Students quickly began changing their minds. We realized that a 4x4 would work. I asked if there were any others. Some suggested multiples of 4, then did a calculation to see if it would work. One student suggested 40x40 only to realize that the area and perimeter differed by a factor of 10. One girl pointed out that the areas were getting bigger faster than the perimeters so there couldn't be any more squares that had equal areas and perimeters. Wow! This would have been a good time to pull out Desmos and graph the perimeter vs. side length and area vs. side length to compare the graphs. Unfortunately, I didn't.
Next, we moved onto using a certain number of toothpicks to create all possible rectangles, using all of the toothpicks (we used pieces of straws rather than toothpicks). I gave each group eight straws and I asked them to keep track of the length, width, perimeter and area of each rectangle.
They repeated the process with twelve and sixteen straws. Then they were asked to look back at their tables to see what they noticed. They needed a push in the right direction but it didn't take too long before they were able to find what I was hoping for. Hopefully this portion gets easier for them as they do it more.
We moved onto minimizing perimeter given a certain area. I gave out linking cubes and asked them to do the same sort of thing using 9, 16 and 25 cubes. The instructions I gave can be found here.
Some groups finished and were ready for the homework a couple of minutes before the bell. Others got far enough that they could finish up at home. Here's a link to the homework I gave. I feel like I stole this from someone. If it was you let me know so I can give you credit.
Once everyone had a figure I had them share with the rest of their group and discuss their thinking. Then I gave them another one to consider on their own.
As we were finishing up, one of the students said "Next you're going to get us to draw a figure that has the same area and perimeter. Aren't you?". I actually hadn't considered that as an option, but since he brought it up, I thought it would be a great idea. Most students thought it was easy and they drew a square. I asked a few to show some dimensions so we could compare the perimeter and the area. Many of them just wrote down a length and a width at random. We discussed, as a class, the shapes and dimensions they chose. Their answers were mostly squares that were 1x1, 2x2, 3x3 and 4x4. I drew a 1x1 and asked about the area and perimeter. Students quickly began changing their minds. We realized that a 4x4 would work. I asked if there were any others. Some suggested multiples of 4, then did a calculation to see if it would work. One student suggested 40x40 only to realize that the area and perimeter differed by a factor of 10. One girl pointed out that the areas were getting bigger faster than the perimeters so there couldn't be any more squares that had equal areas and perimeters. Wow! This would have been a good time to pull out Desmos and graph the perimeter vs. side length and area vs. side length to compare the graphs. Unfortunately, I didn't.
Next, we moved onto using a certain number of toothpicks to create all possible rectangles, using all of the toothpicks (we used pieces of straws rather than toothpicks). I gave each group eight straws and I asked them to keep track of the length, width, perimeter and area of each rectangle.
They repeated the process with twelve and sixteen straws. Then they were asked to look back at their tables to see what they noticed. They needed a push in the right direction but it didn't take too long before they were able to find what I was hoping for. Hopefully this portion gets easier for them as they do it more.
We moved onto minimizing perimeter given a certain area. I gave out linking cubes and asked them to do the same sort of thing using 9, 16 and 25 cubes. The instructions I gave can be found here.
Some groups finished and were ready for the homework a couple of minutes before the bell. Others got far enough that they could finish up at home. Here's a link to the homework I gave. I feel like I stole this from someone. If it was you let me know so I can give you credit.
Monday, September 18, 2017
MPM1D1 - Day 10 Finishing Up The Giant Toonie
The warm-up for today was this Would You Rather problem:
I had students work in groups but at their desks rather than the whiteboards since their work from Friday was still up on the board. It was much harder to see what was going on when students were seated compared to what they would do at the board.
One student said he'd prefer the 40' pool because it was longer. He seemed happy to stop their so I asked if he could find out how much water in the pools. Some groups converted the feet to yards, others the yards to feet. One student wanted to use the formula for surface area but fortunately his group convinced him that he was calculating the wrong thing. All the groups had some good success with this problem.
We then went on to find out how many toonies would fit in the giant toonie. This problem had multiple steps to it and many students struggled with those steps. This reinforced the importance of being organized and methodical. All groups were able to find the volume of the actual coin, after asking for a formula. Determining the volume of the giant coin proved to be a challenge. They had a hard time figuring out that they needed to find the scale factor, then use the scale factor to find the thickness of the giant toonie. There were a few unit conversion errors but all of the groups knew that they needed to divide the volume of the big coin by the volume of the little coin. Of course this assumes that the coin can be packed in (melted down?) without any space for air.
This was a fun problem to watch groups struggle through. They really had to think about what the problem was asking and come up with a plan. Some students were quite frustrated by it, but hopefully this process will get easier for them as we do it more often.
Once we were done we did a quick not on calculating area and perimeter and I gave them some questions to practice.
Saturday, September 16, 2017
MPM1D1 - Day 9 Fractions and Measurement
I came across this problem last night so I thought I try it in class since we had been discussing fractions.
Some groups were quick to recognize that the fractions on both sides were equivalent, others performed the calculations and didn't really notice anything that was the same. I asked how they could compare the fractions. That was enough to get them to thing about reducing their answers. Some groups chose to scale the smaller numbers up. All the groups seemed to do just fine with the division, which was a bonus.
We moved on to Jon Orr's R2D2. Which didn't take long to solve. It was interesting to see that the half of the class on the west of the room did it one way (divide the width of the bulletin borad by the width of the sticky note to find how many would be needed, do the same for the width then multiply) and the groups on the east of the room all found the area of the board and the area of a sticky and divided them. Perhaps knowledge was moving around the room but not crossing the centre line.
Next up we were going to look Kyle Pearce's Big Nickel. I showed the video and asked how many of them had been to Sudbury and how many had seen the Big Nickel. I was surprised to see that only two of my students had seen the Nickel. I then asked how many of them had been to Campbellford to see the Giant Toonie. It was about half the class so I decided to proceed with the toonie.
I showed a picture of the toonie.
They asked some questions such as "How big is it?" and as a class we decided to find out how many real toonies would fit inside. I gave them the following information about the giant toonie and we headed to Wikipedia for details about the actual toonie.
I told them to assume that the giant toonie was built to scale and then set them loose. We haven't talked about measurement so I was keen to see where this would go. One group started by figuring how many toonies would fit across the diameter of the monument, another calculated the circumference of both. One group wanted to work on volume but couldn't remember how to find the volume of a cylinder so we talked about how to find the volume of a prism and I let them sort things out from there. We ran out of time so we'll have to pick up where we left off Monday.
Subscribe to:
Comments (Atom)


